Sidebar
Table of Contents
How to control the analysis computer of the cytometry platform to your own computer ?
You will find here, a help for the installation and the use of Nomachine, a software allowing you to reach a distant computer from your own computer, for Mac OS and Windows.
If you use Mac OS :
Installation Nomachine software
→ Download Nomachine installer by clicking this link :https://www.nomachine.com/download/download&id=13.
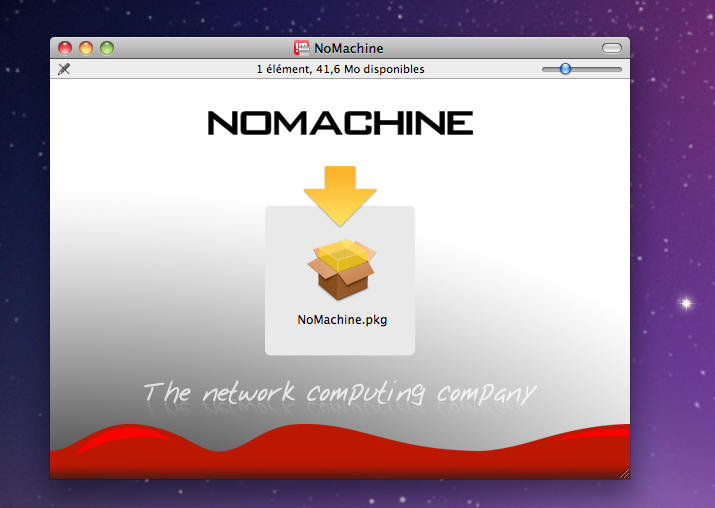
→ Click the file you just downloaded (nomachine_5……dmg).
→ A window opens to install the package Nomachine.pkg
=> Click the icon of the package.
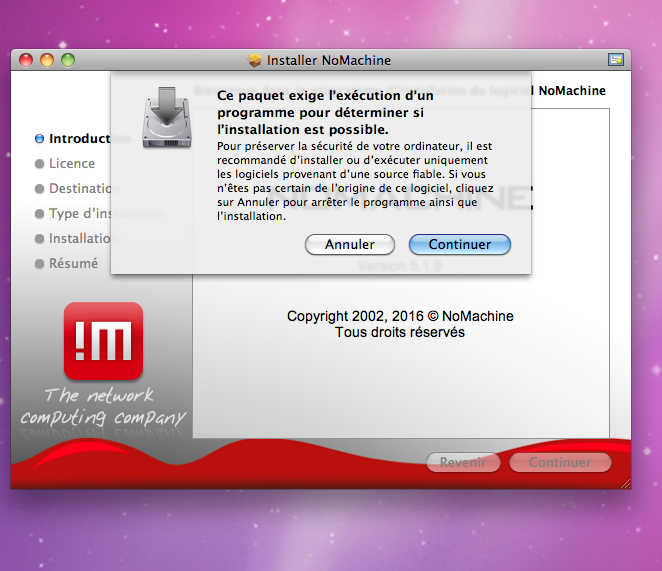
→ An another windows open :
=> Click the button continue
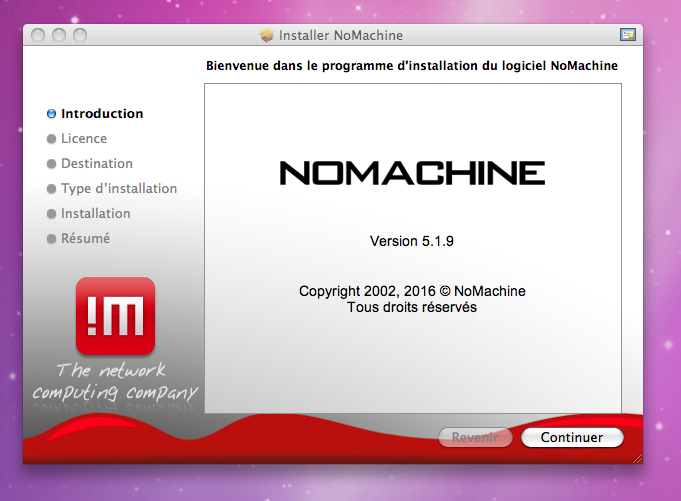
→ Then you have this windows :
=> Click the button continue
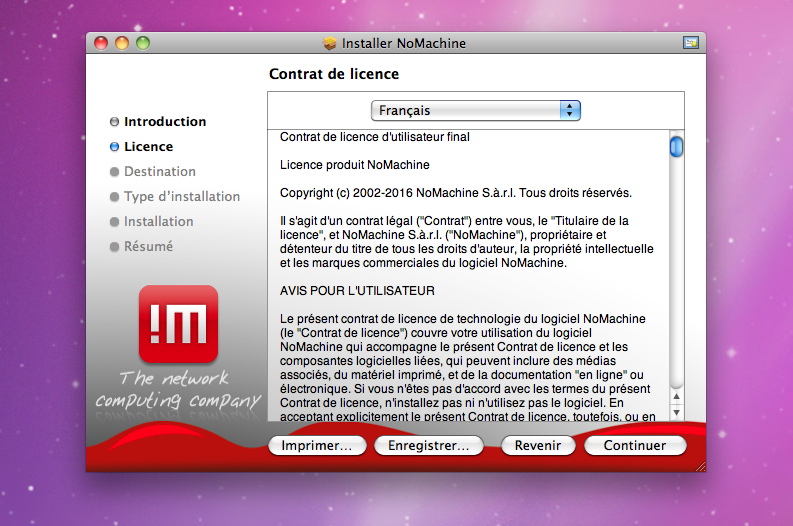
→ We pass then in another tab of the window: the tab named “Licence” :
=> Choose the language (I chose French) and click the button continue
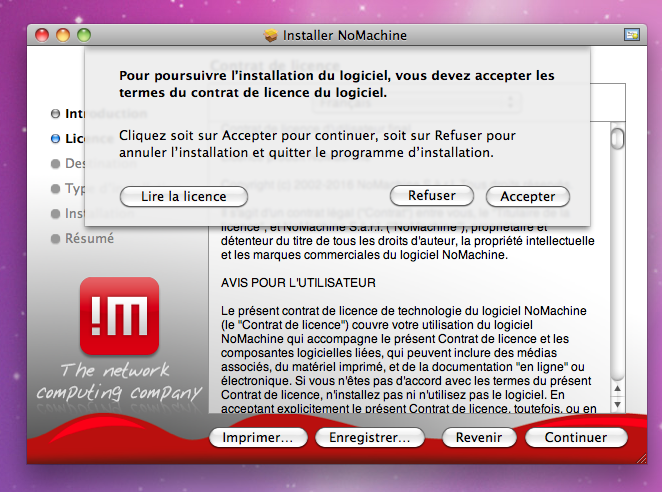
→ Next :
=> Click the button accept
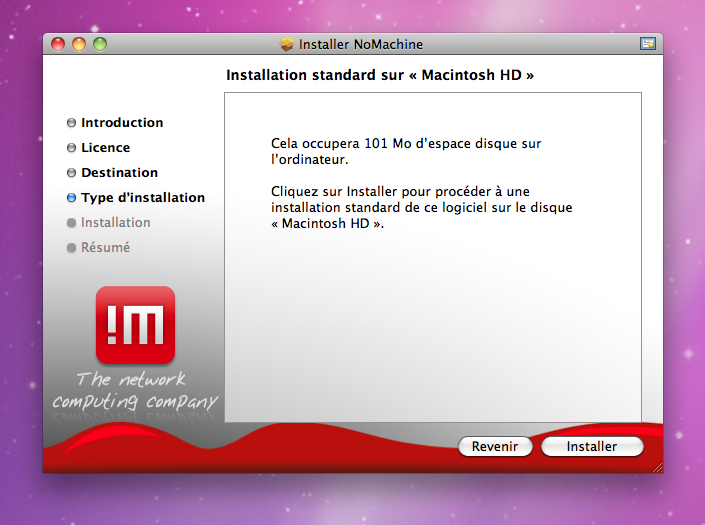
→ Finally :
=> Click the button install
Once the installation is complete, click the button close.
How to use Nomachine ?
Two ways:
FIRST WAY :
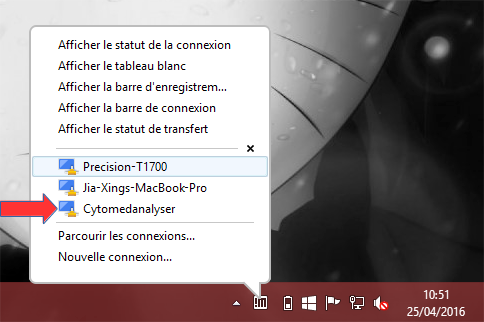
In the task bar, there is a small icon !m
=> Click this icon
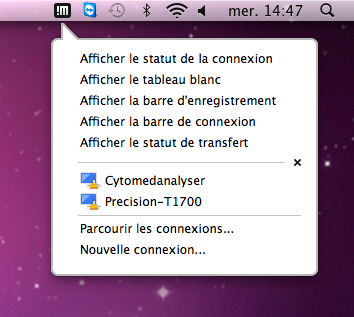
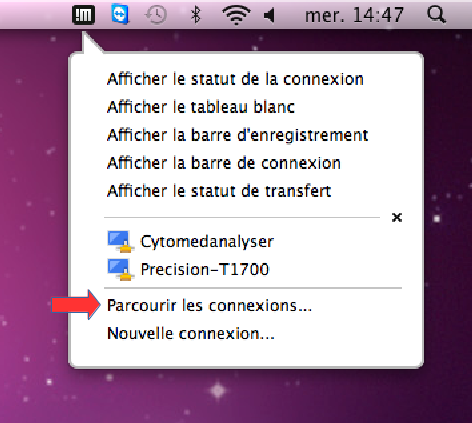
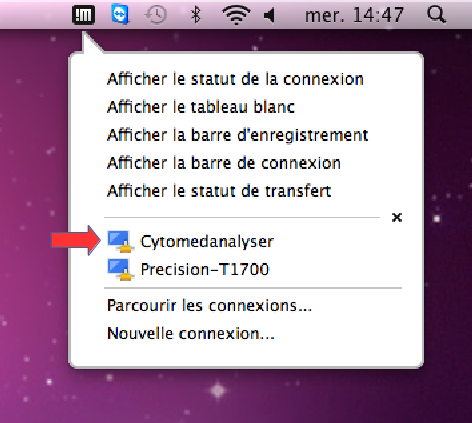
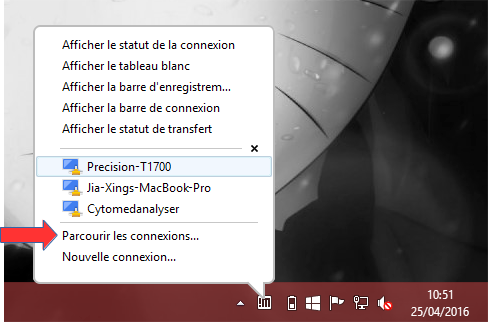
When you click the icon a speech bubble appears:
     => Click "Parcourir les connexions..."
     or if the computer "Cytomedanalyser" ,in which you want to connect, appears,
     you can click above.
⇒ If you click “Parcourir les connexions…”:
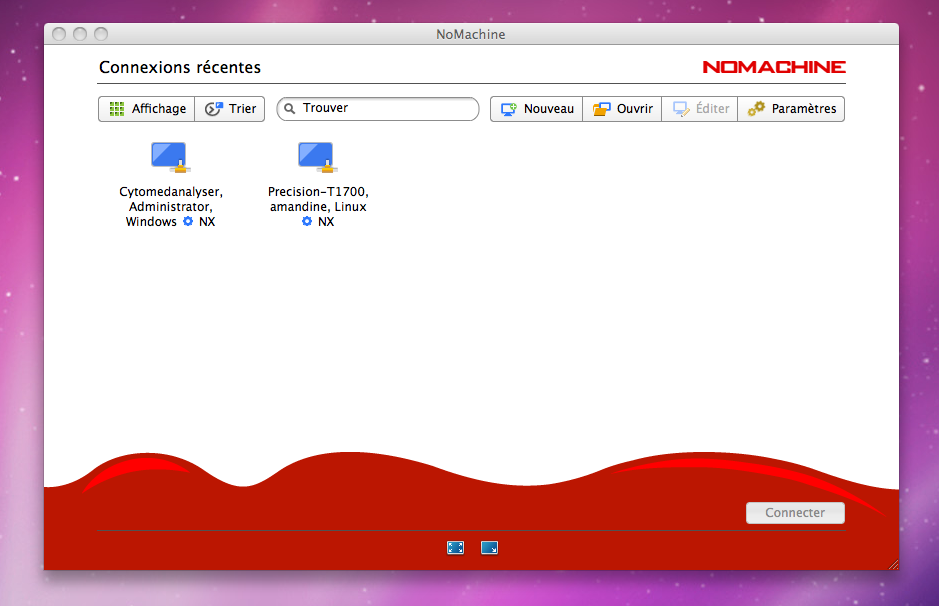
A window opens :
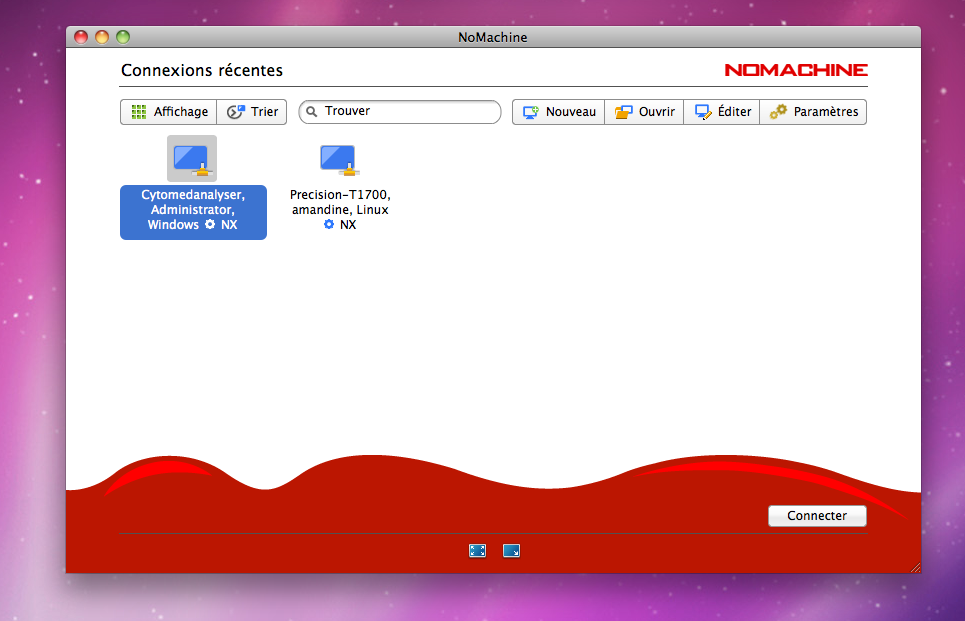
=> Click the computer's icon "Cytomedanalyser" :
=> Clik "connect"
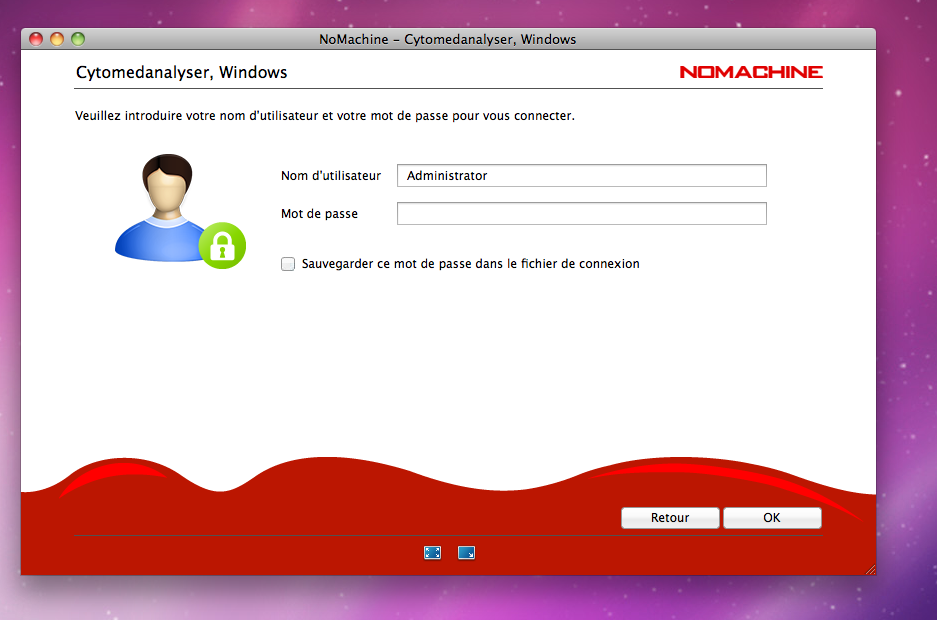
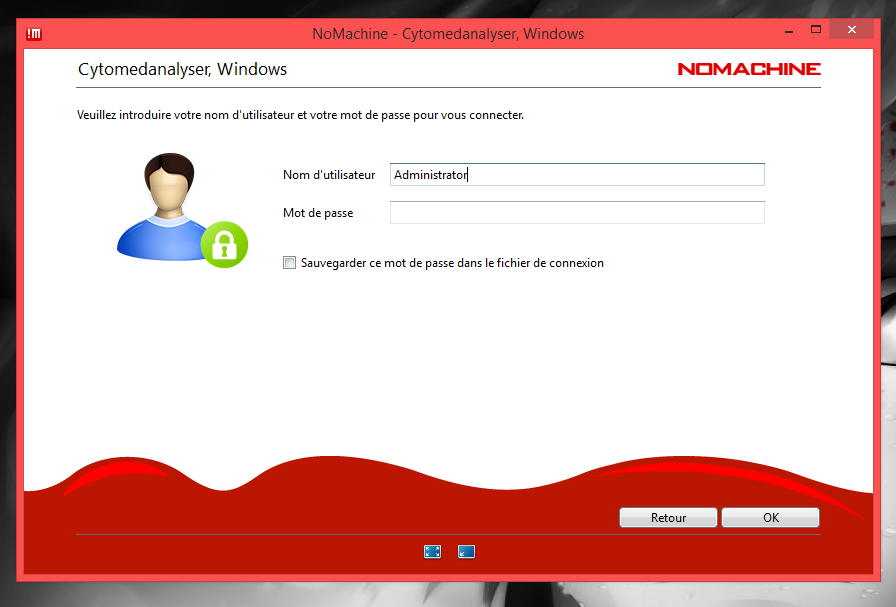
A Windows opens with username (which is “Administrator”) and the password (the same as on the Cytomed plateform's workstation):
when the username and password are entered, click OK
WARNING : for security reasons , do not select “Save this password in the connection file”
→ Next :
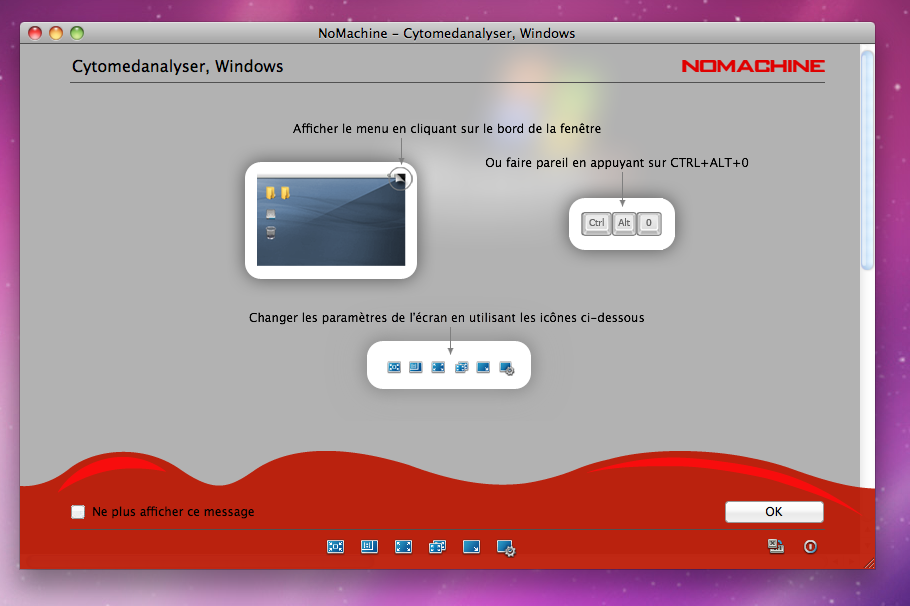
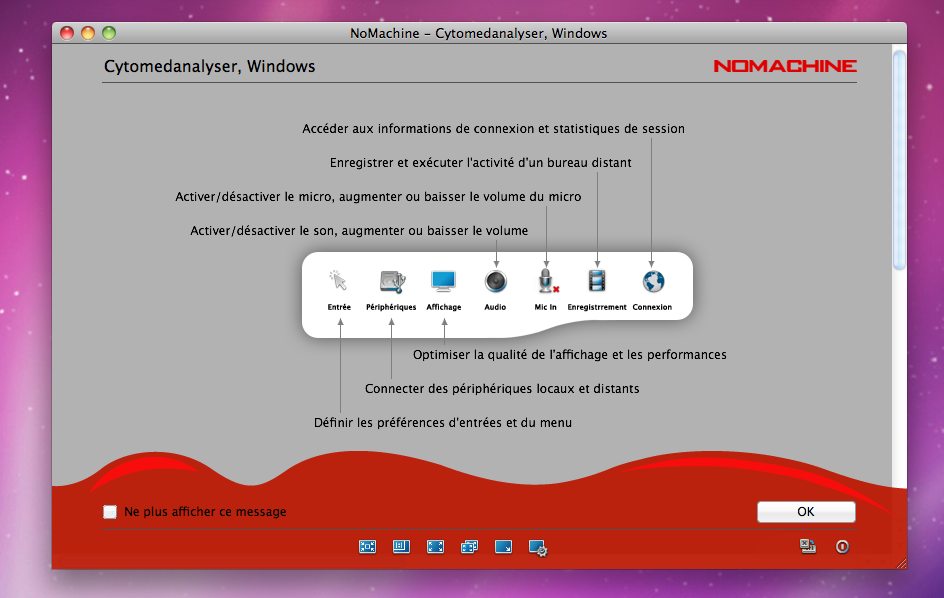
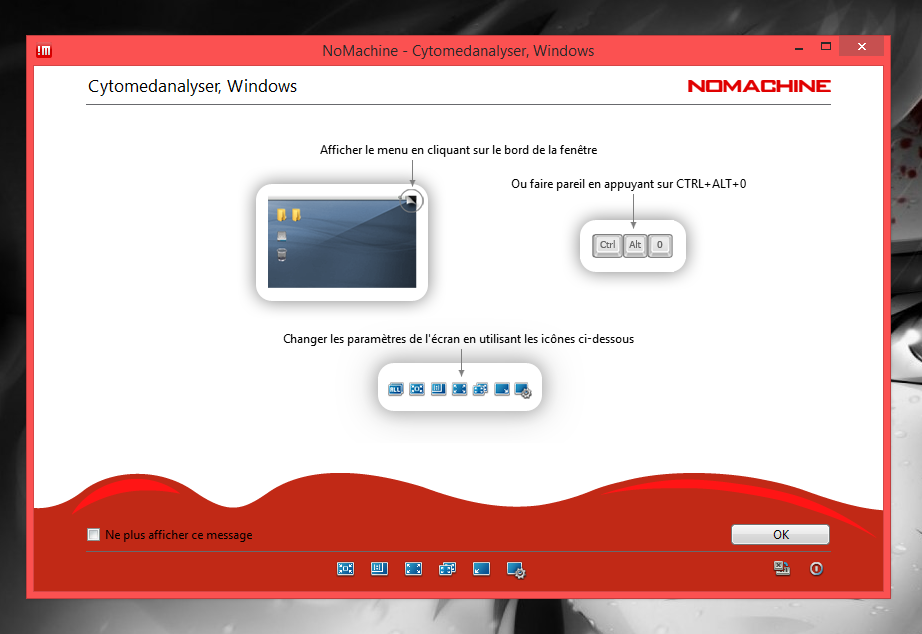
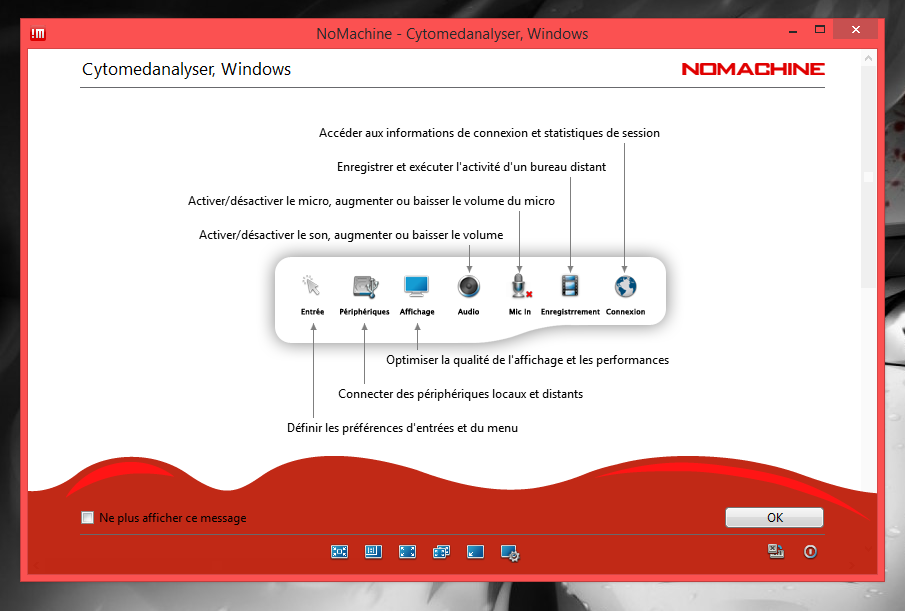
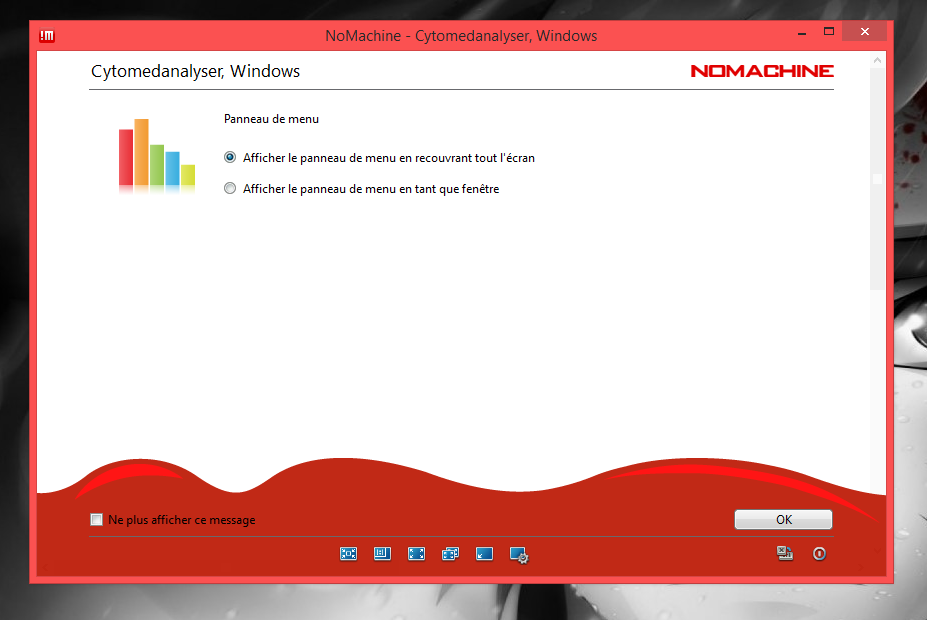
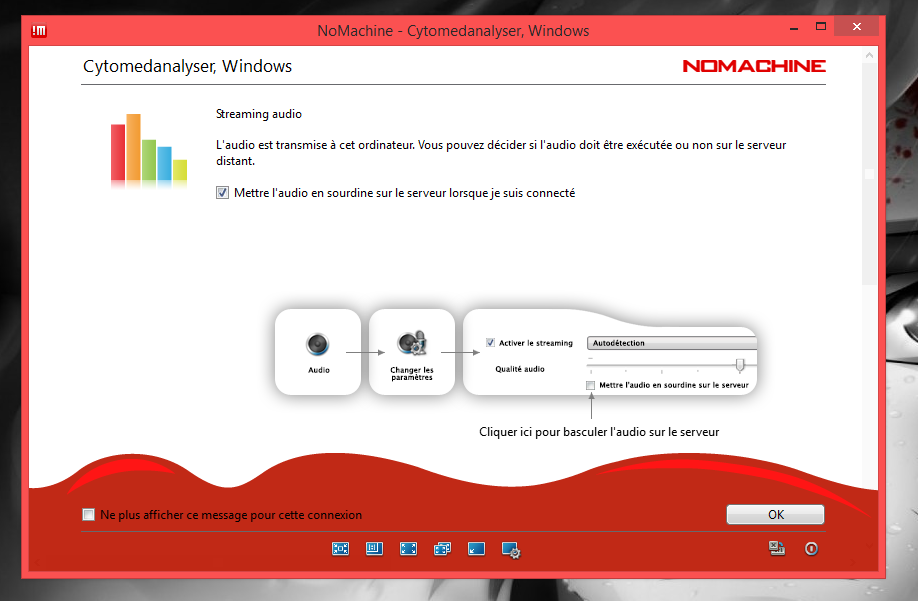
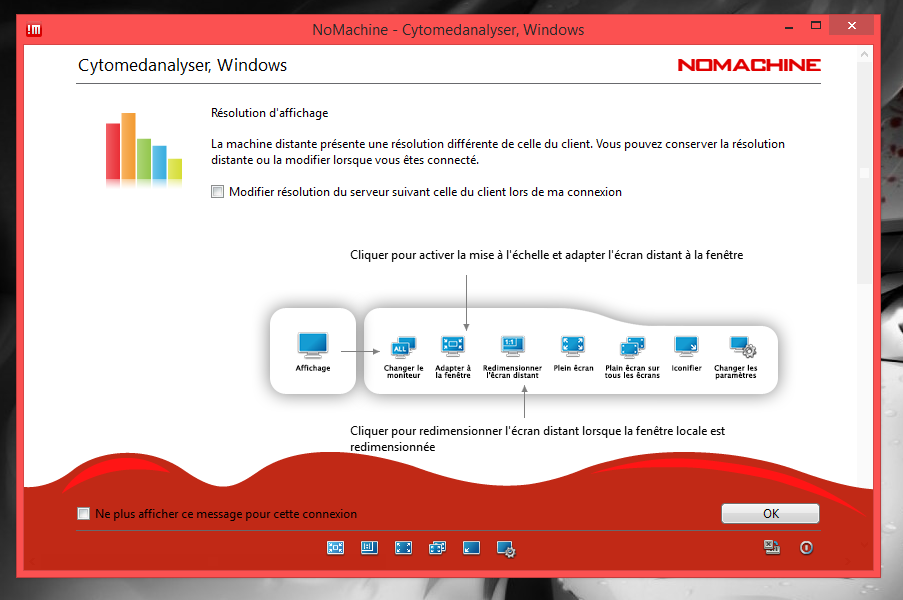
There is a sequence of windows which explain how you can use the different functions of NoMachine :
=> Click "OK"
=> Click "OK
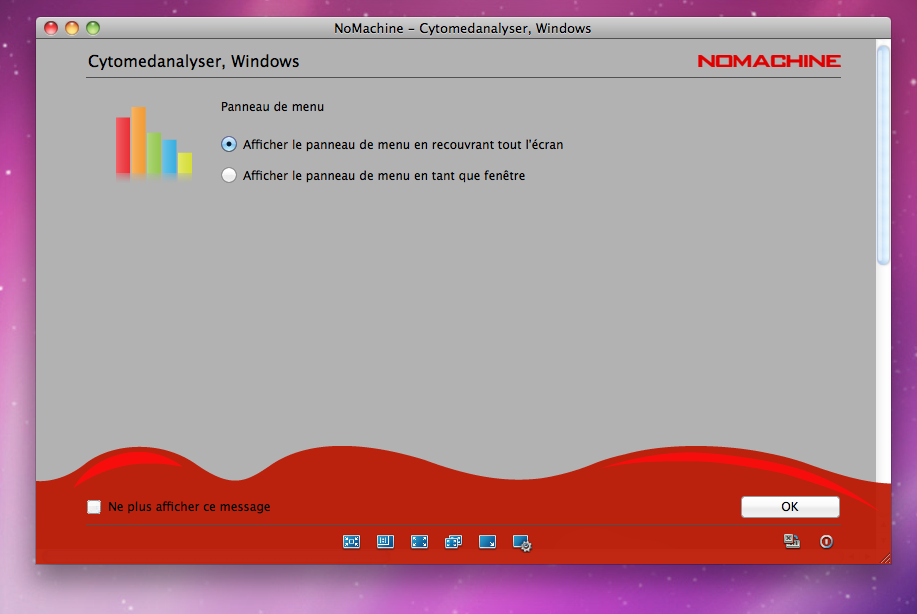
=> Choose the option you want and click "OK"
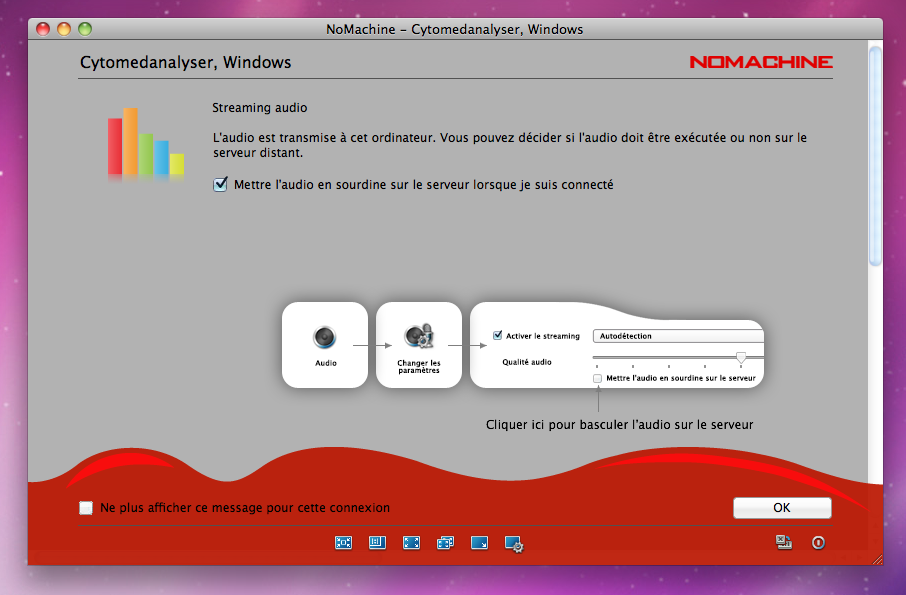
=> leave the box checked and click "OK"
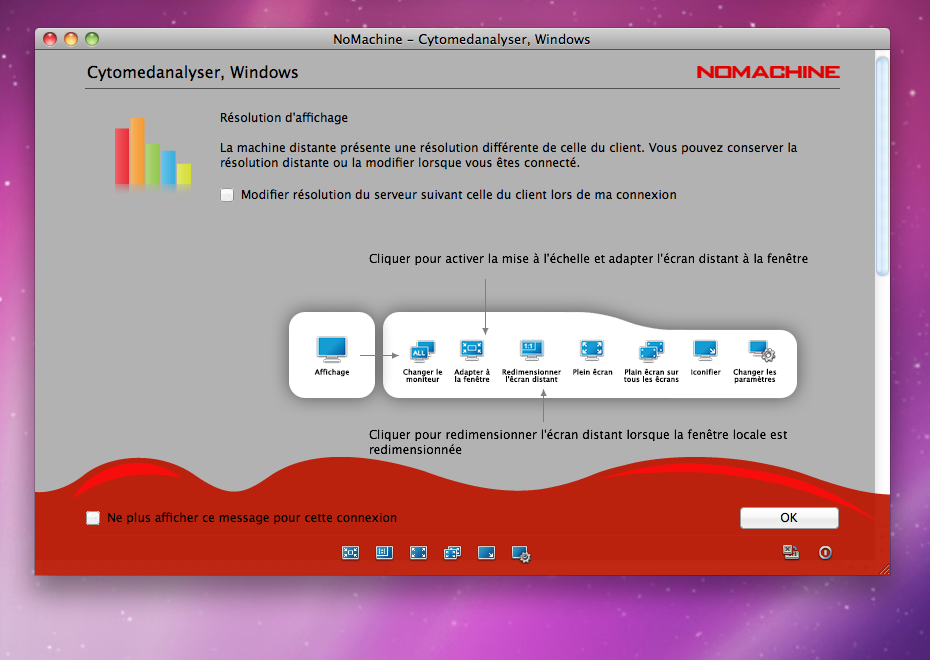
=> unchecked the box and click "OK"
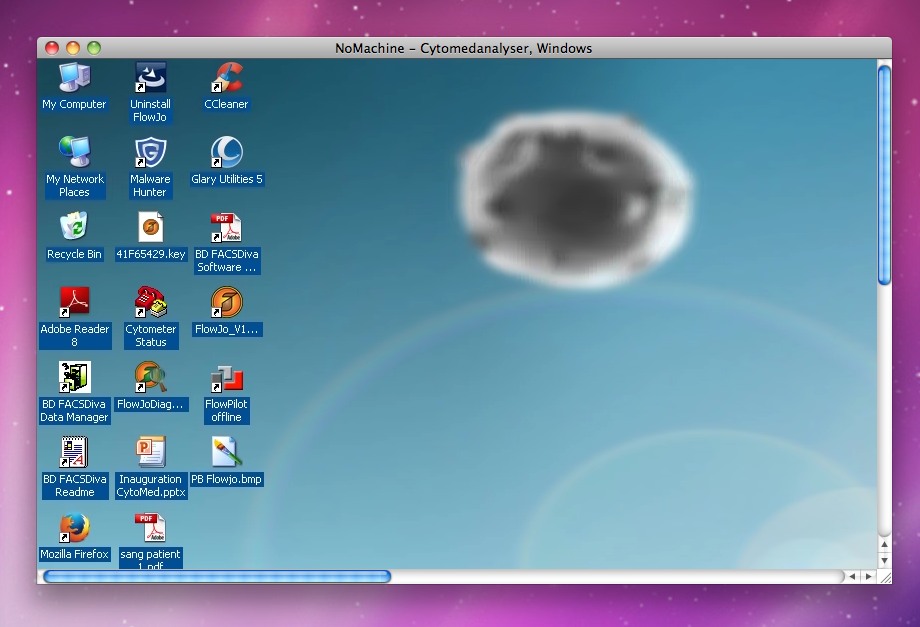
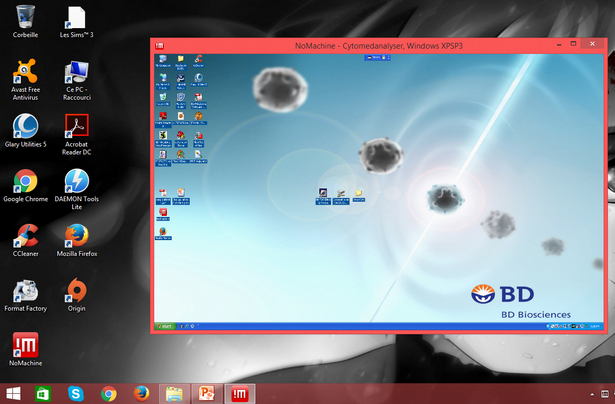
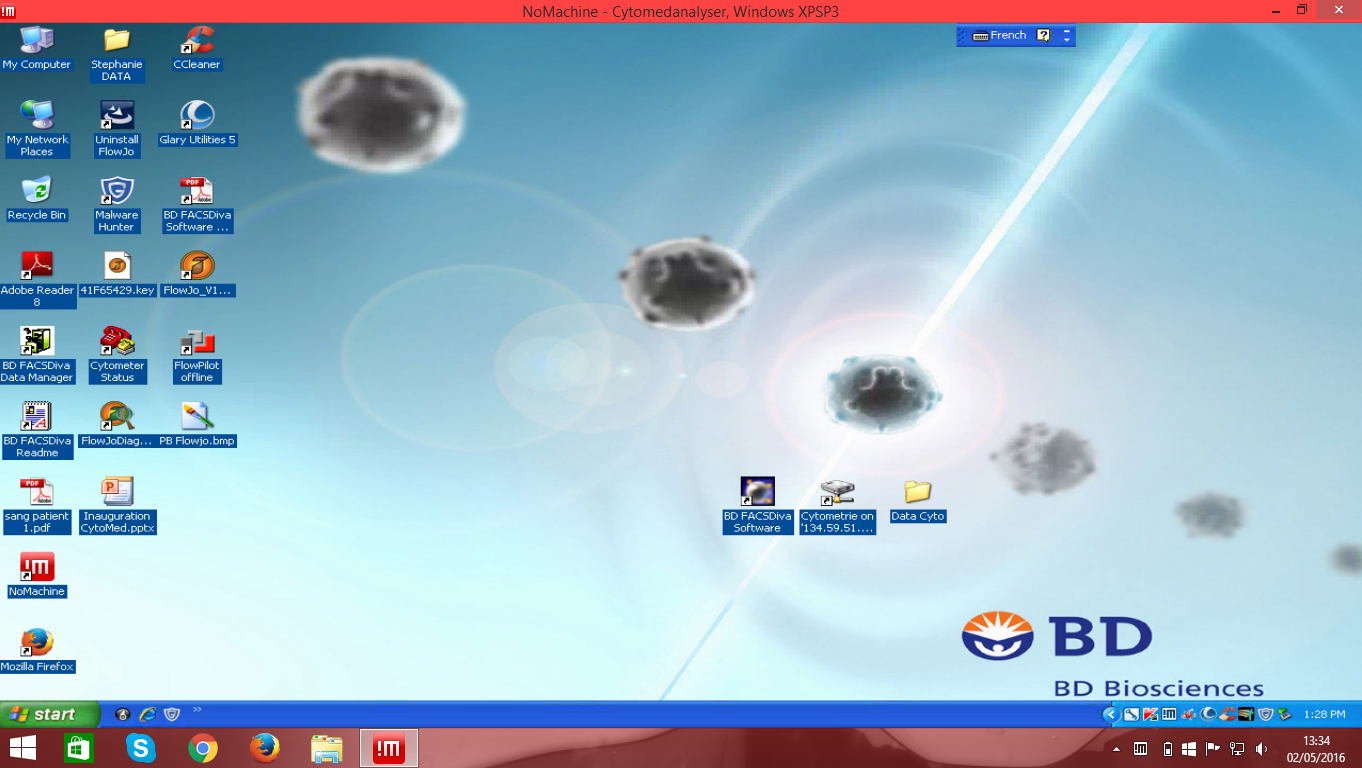
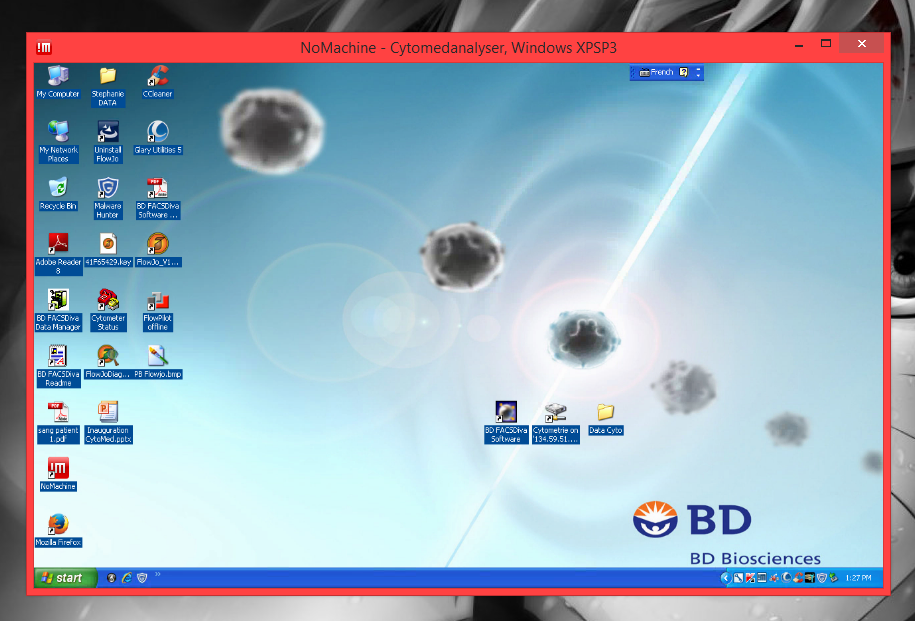
you are now connected to the computer Cytomed - Ananlyser ( = workstation ) !!!
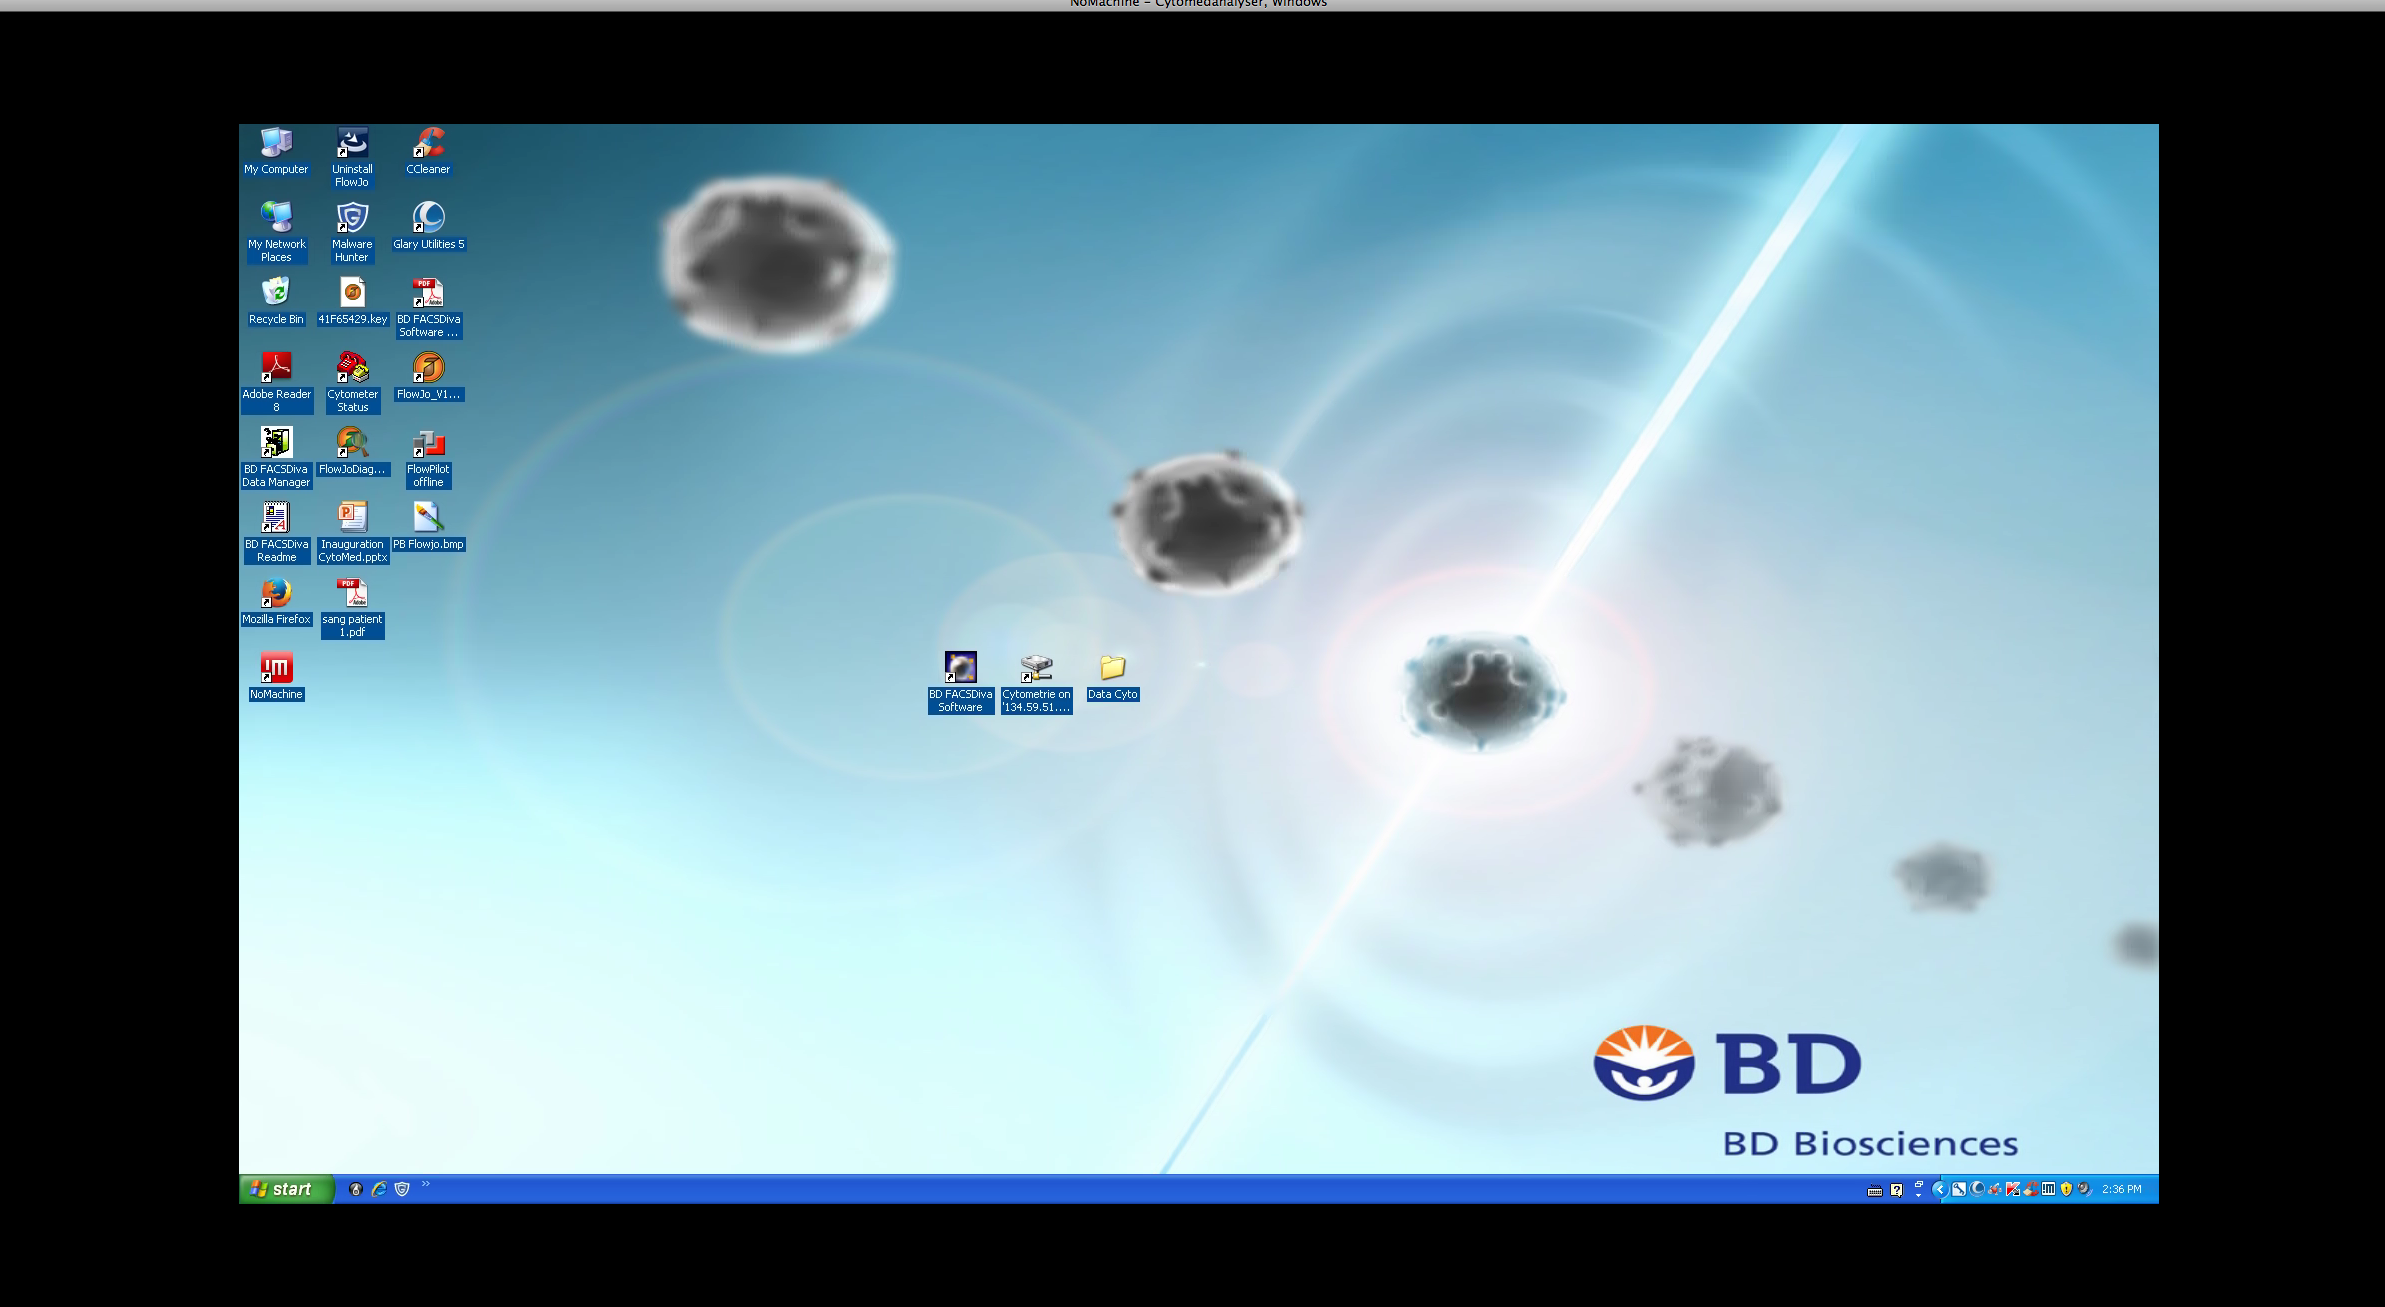
You can also extend the window :
What is interesting is that we can make a copy and paste dragging the file from the window of the computer Cytomedanalyser to your own desktop.
⇒ If you click “Cytomedanalyser”:
The windows with username and the password opens. After,it's the same as what we saw.
SECOND WAY :
You can also click the icon !m situated in the application bar at the bottom of the screen :
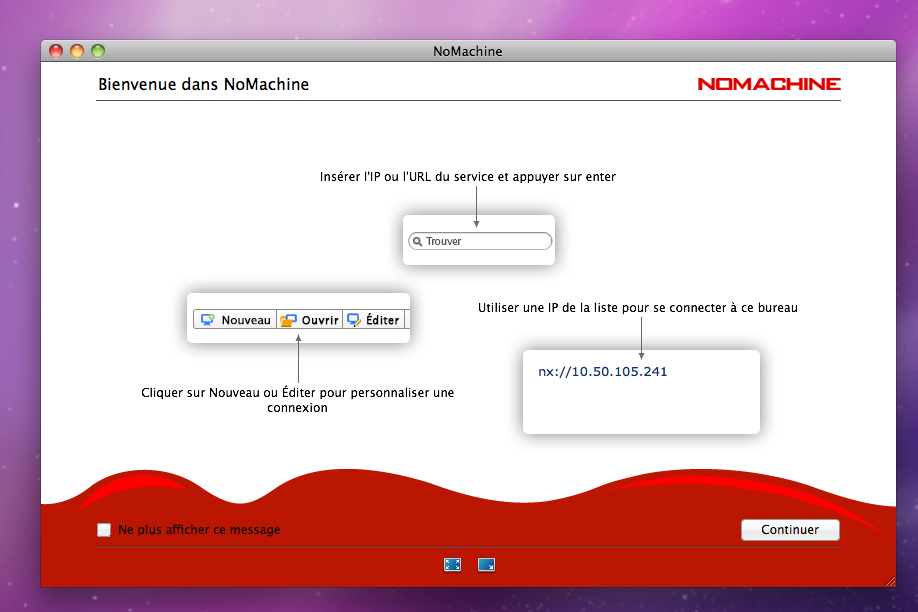
A window opens :
=> Click the button continue
After, you are on this window :
For the rest , it's the same as what we saw earlier.
If you use Windows :
Installation Nomachine software
→ Download Nomachine installer by clicking this link :https://www.nomachine.com/download/download&id=14
→ Click the file you just downloaded (nomachine_5……):
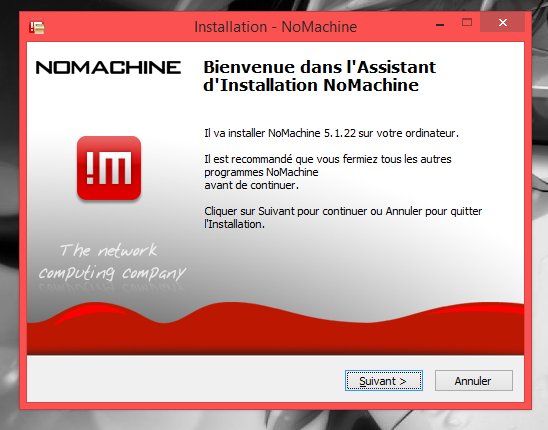
→ A window opens to install Nomachine:
=> Click the button "suivant"
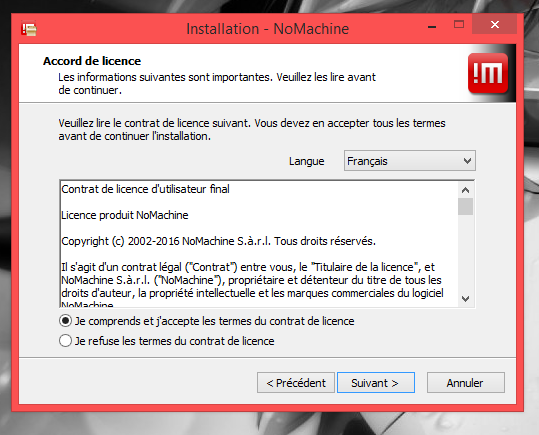
→ An another window opens :
     => Choose the language (I chose French)
     => check "je comprends et j'accepte les termes du contrat de licence"
     => click the button "suivant"
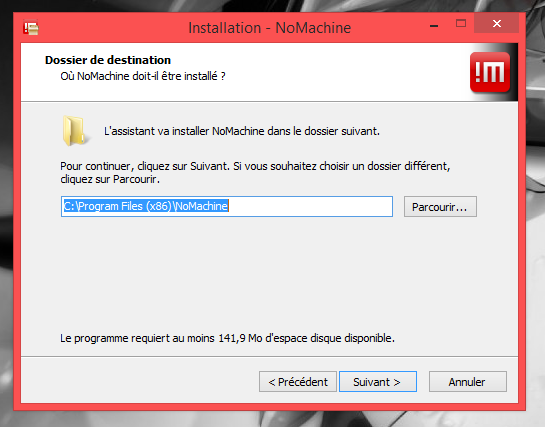
→ Then there is an another window with the directory where NoMachine will be installed (Program files):
=> Click the button "suivant"
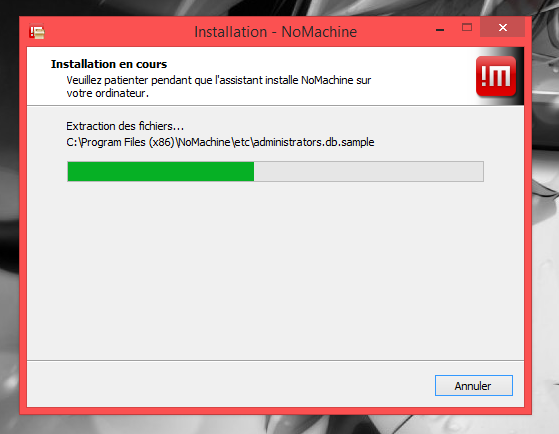
→ Now, NoMachine is being installed:
→ When the download is complete , wait a few minutes (there is this window):
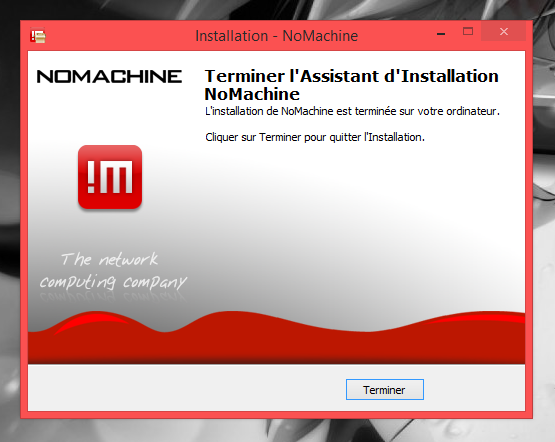
→ When the installation is complete, click finish:
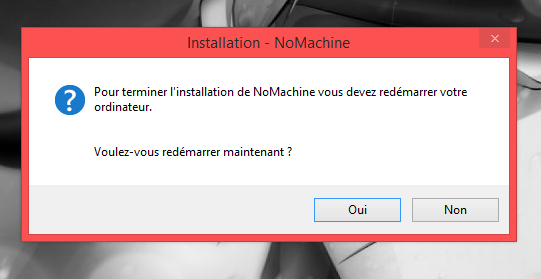
→ After a window opens asking you to restart the computer:
=> Click yes
How to use Nomachine ?
Two ways:
FIRST WAY :
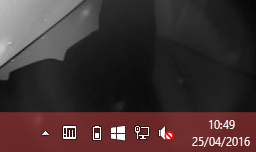
In the task bar, there is a small icon !m :
⇒ Click this icon
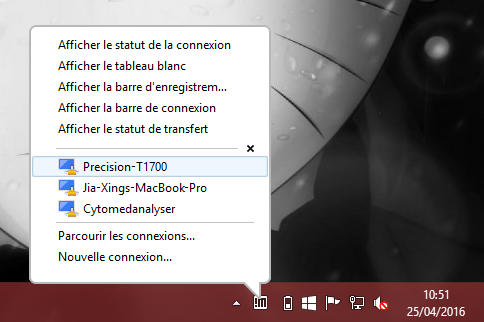
When you click the icon a speech bubble appears:
     => Click "Parcourir les connexions..."
     or if the computer "Cytomedanalyser" ,in which you want to connect, appears,
     you can click above.
⇒If you click “Parcourir les connexions…”:
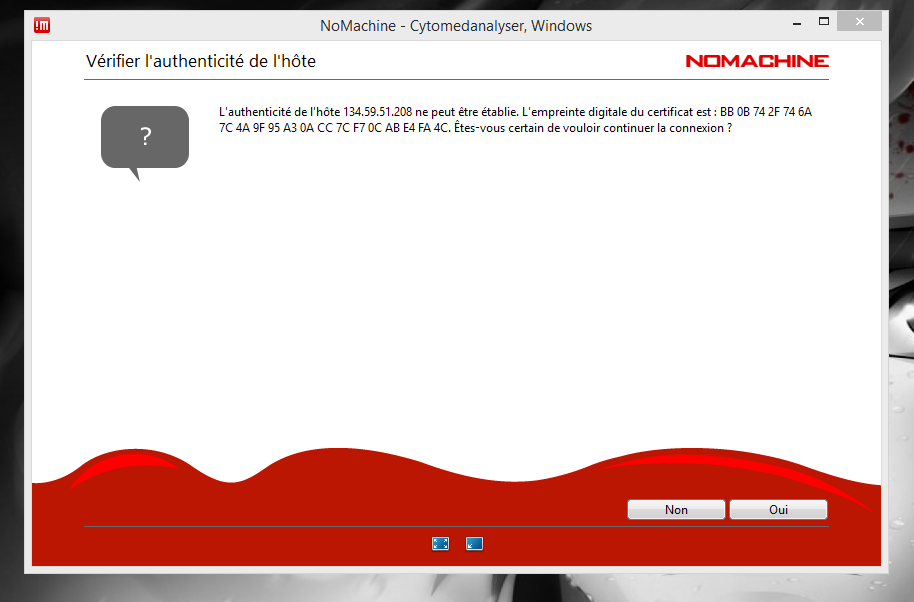
A window opens :
=> Click yes
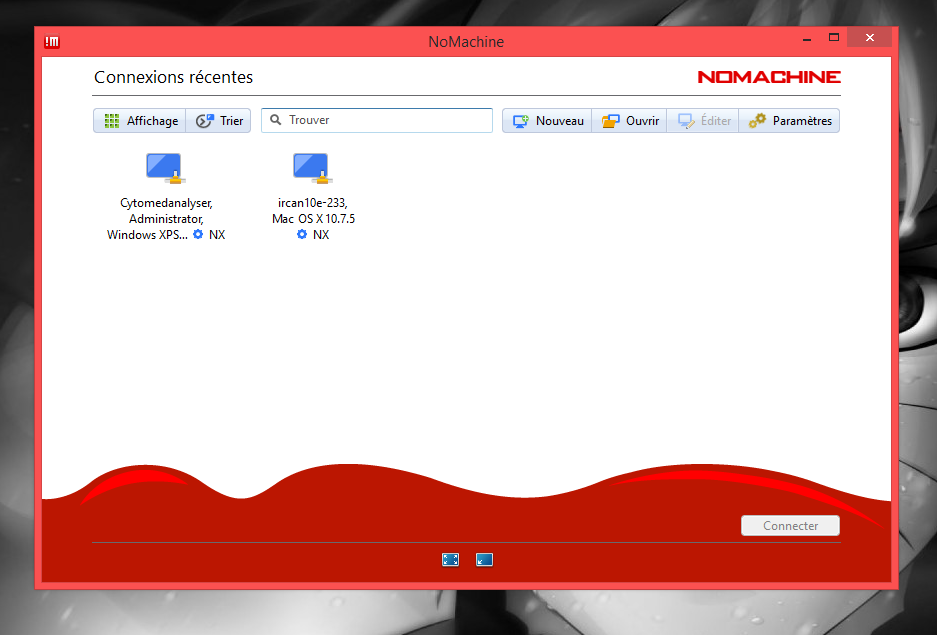
Then an another window opens :
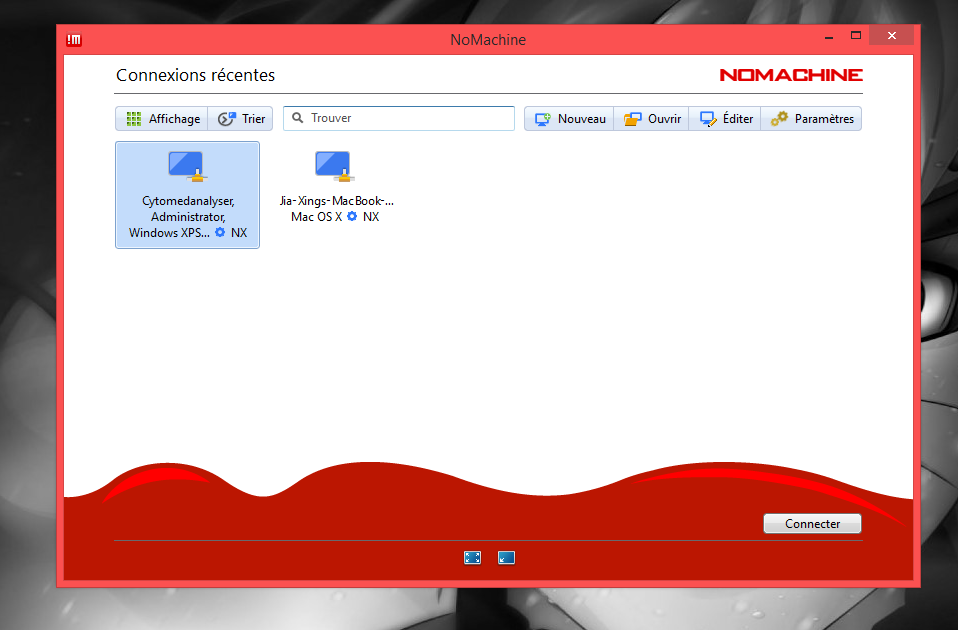
=> Click the computer's icon "Cytomedanalyser" :
=> Clik "connect"
A Windows opens with username (which is “Administrator”) and the password (the same as on the Cytomed plateform's workstation):
when the username and password are entered, click OK
WARNING : for security reasons , do not select “Save this password in the connection file”
→ Next :
There is a sequence of windows which explain how you can use the different functions of NoMachine :
=> Click "OK"
=> Click "OK
=> Choose the option you want and click "OK"
=> leave the box checked and click "OK"
=> unchecked the box and click "OK"
you are now connected to the computer Cytomed - Ananlyser ( = workstation ) !!!
You can also extend the window :
What is interesting is that we can make a copy and paste dragging the file from the window of the computer Cytomedanalyser to your own desktop.
⇒If you click “Cytomedanalyser”:
The windows with username and the password opens. After,it's the same as what we saw.
SECOND WAY :
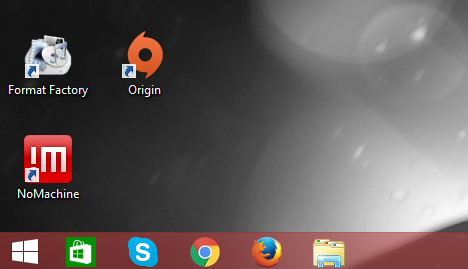
You can also click the shortcut icon !m on the desktop:
A window opens :
=> Click the button continue
After, you are on this window :
For the rest , it's the same as what we saw earlier.
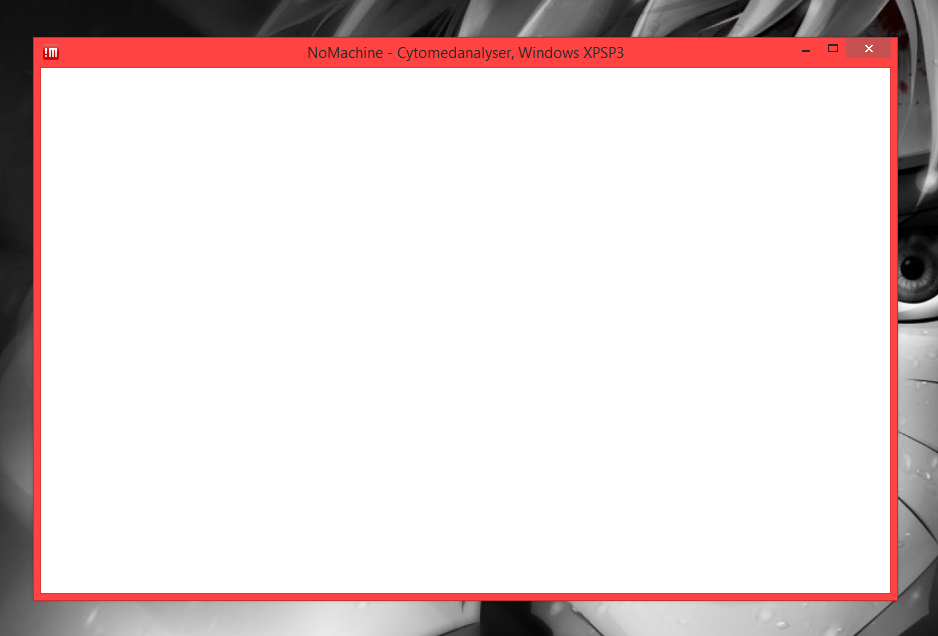
If you have a display problem : a white screen:
In some cases, it may be that you end up with a white screen:
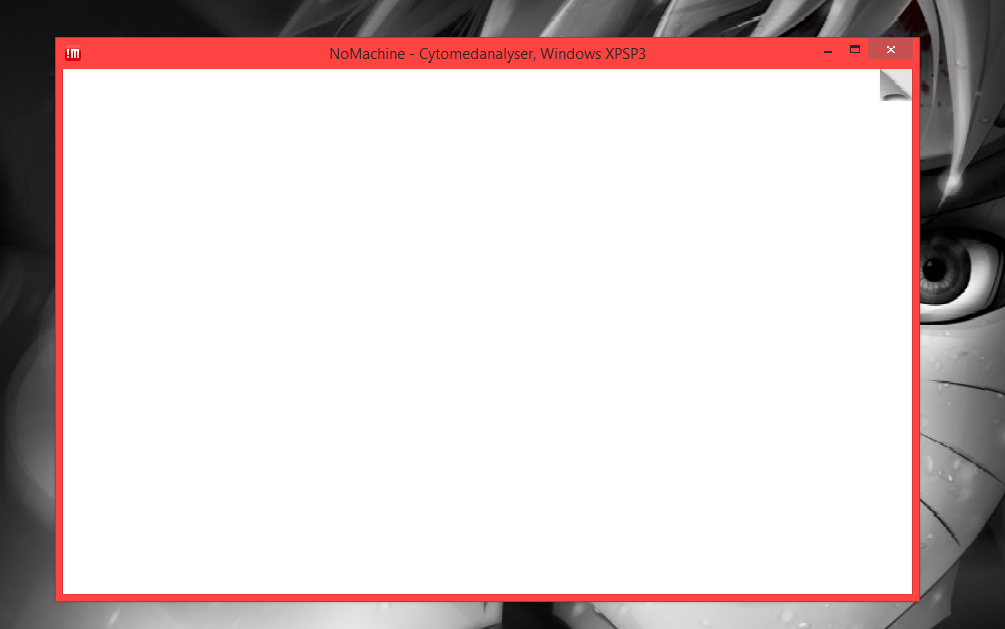
To fix this, put your mouse in the upper left corner of the window. It then appears a kind of corner sheet as if you could turn the page:
=> Click this corner
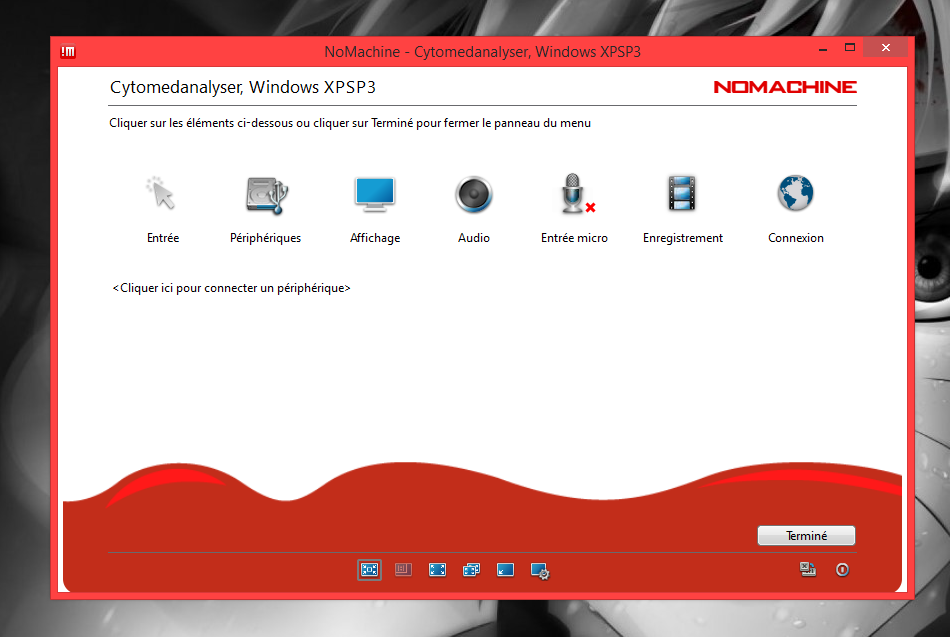
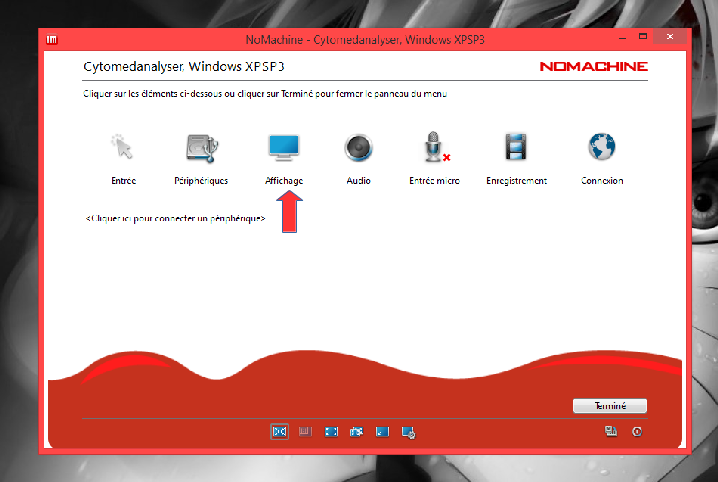
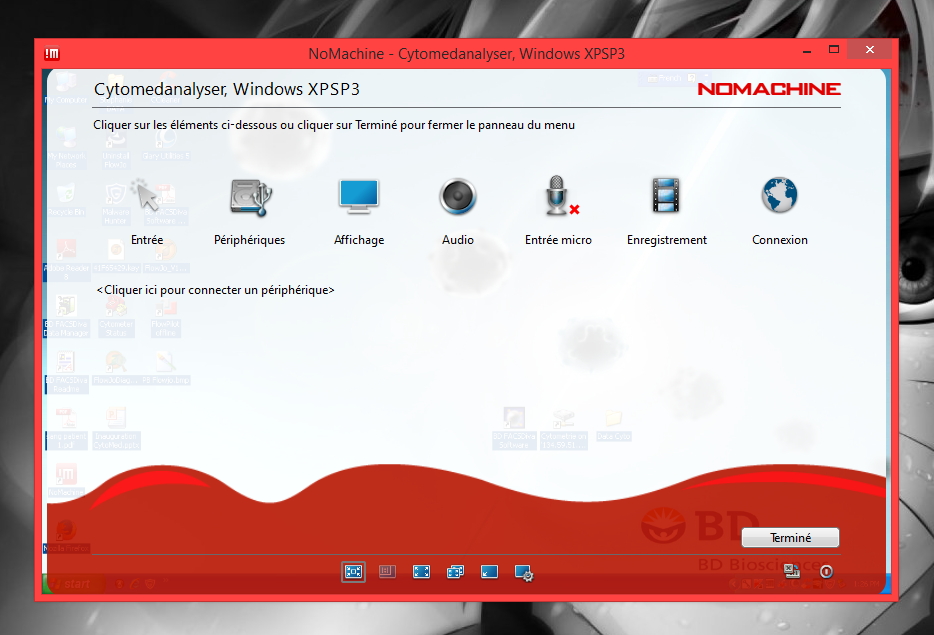
A window appears :
Click computer's icon “Affichage”:
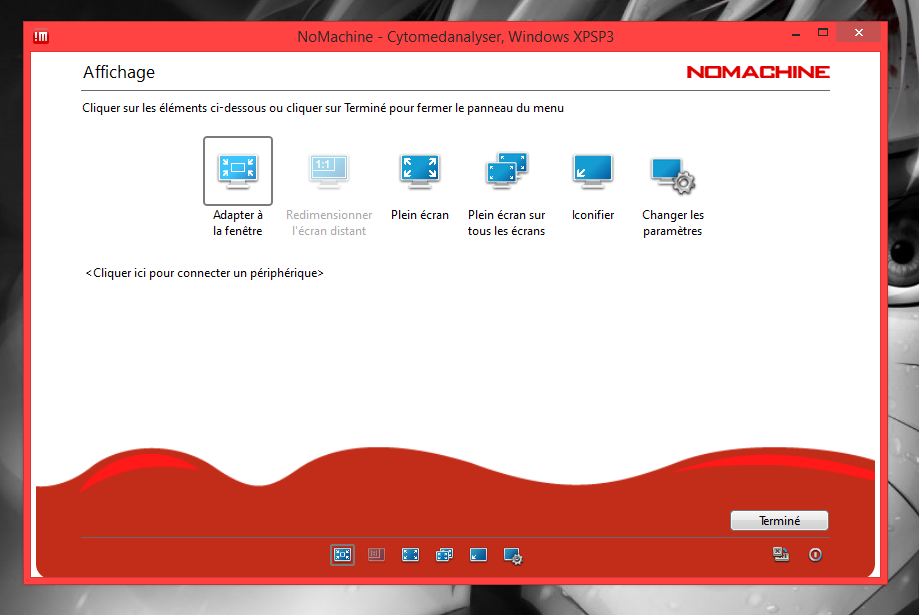
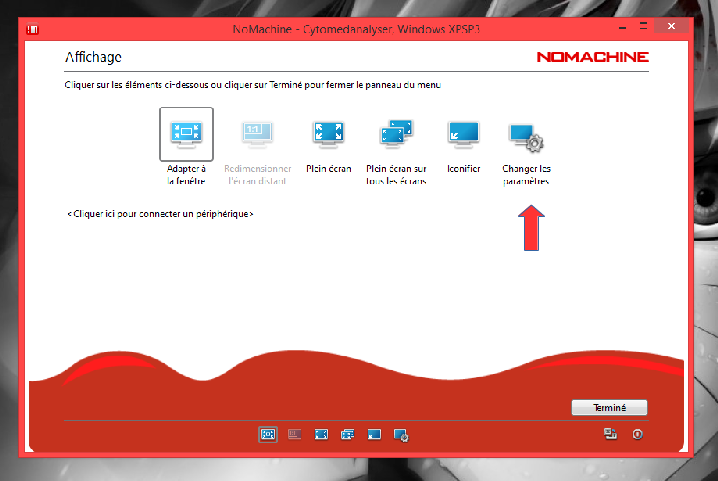
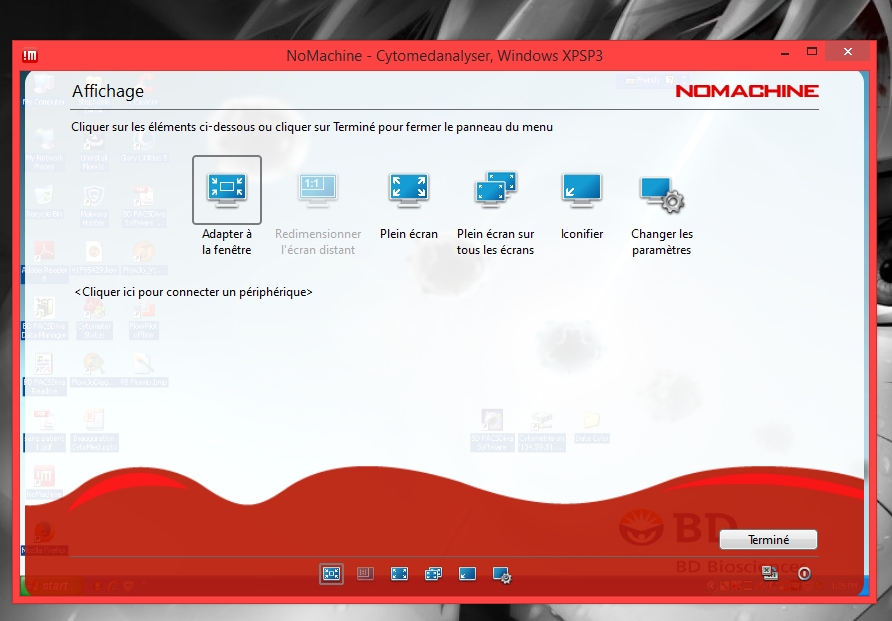
An another window opens :
Click computer's icon “Changer les paramètres”:
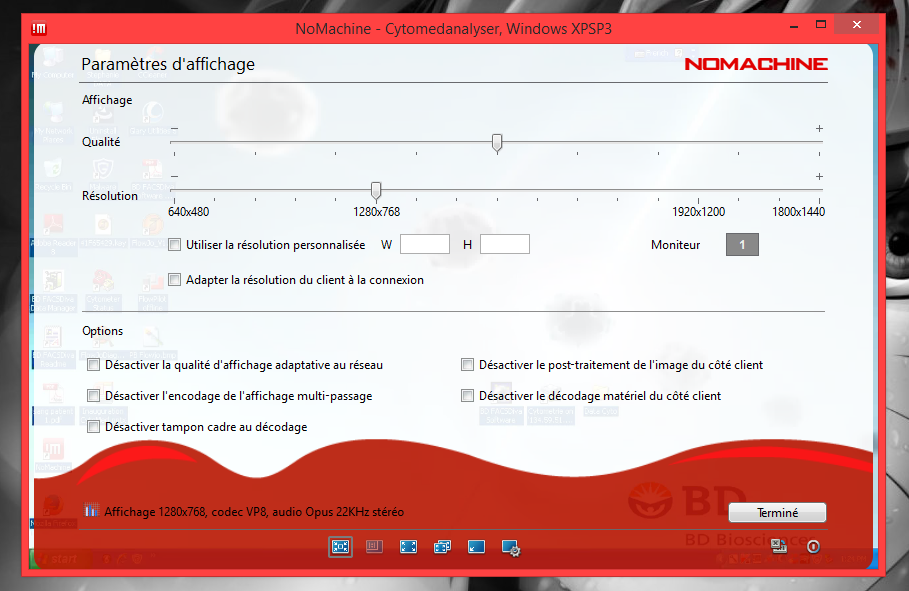
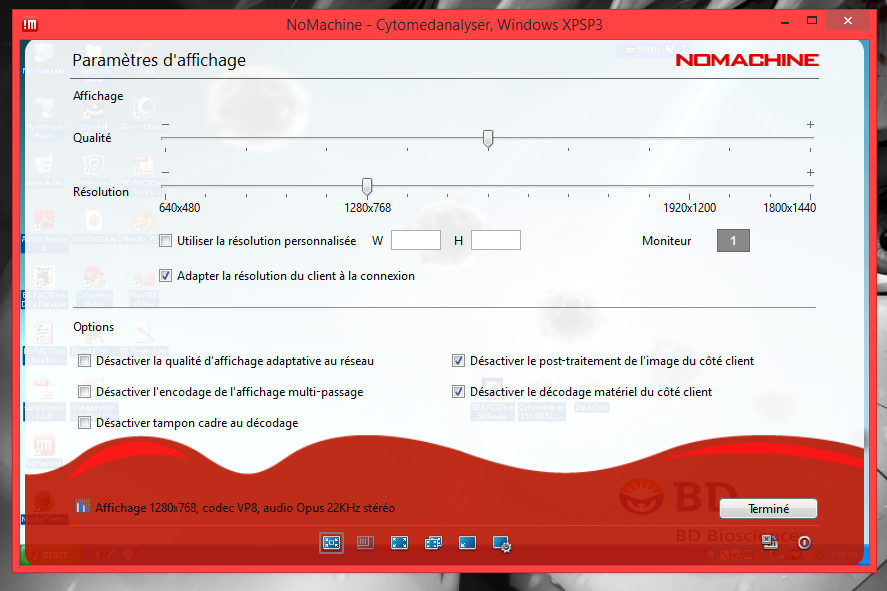
You finally get this window:
Tick these three boxes :
- “Adapter la résolution du client à la connexion”
- “Désactiver le post-traitement de l'image du côté client”
- “Désactiver le décodage matériel du côté client”
=> Click the button "Terminé"
You get again, this window:
=> Click the button "Terminé"
Finally, you get again this window :
=> Click the button "Terminé"
Now everything works 

